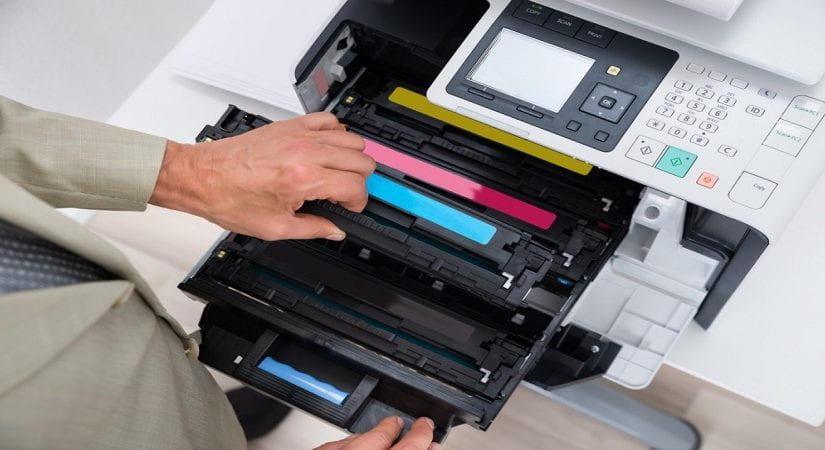
If your printer is experiencing glitches – such as blank spots, resolution issues, poor definition, and even paper jams – the ink cartridges are likely to blame. Don’t worry! We are not referring to the quality of the product -which, for sure, is the best- but to its state of conservation. And is that inkjet printing can be affected by failures in the heads and nozzles.
Fortunately, this minor issue is easily resolved. You will only need to get rid of the ink residues that have accumulated on each of the pieces and you will once again enjoy a printing that is as reliable as the first day.
How to clean the printer cartridges step by step
This Ntt-toner guide will help you with any make and model of printer that uses dye or pigment ink cartridges.
Step 1. Examine the injectors
Most printers have a maintenance tool. To find it, access the printer menu or go to the device section of your computer. Click on “maintenance” and select the “nozzle check” option. Many users prefer to check the nozzles after performing manual and automatic ink cartridge cleaning, but this is a mistake. It is preferable to do it earlier so that the printer software can recognize if there are printing problems.
Step 2. Automatic head cleaning
If the injectors are clogged, the system will recommend cleaning the heads automatically. In this scenario, the program will send a series of instructions to the computer to print some designs with different levels of ink.
In most cases, automatic factory cleaning solves printing problems. Therefore, once the maintenance is finished, click on “test page print” and verify that the print quality is as desired.
If your computer has improved but is unable to achieve optimal resolution and definition, it’s time for a manual cleaning!
Step 3. Manually cleaning the ink cartridges
Locate the ink cartridge installation slot on your computer and remove each unit. Find a soft cloth that is clean – and does not shed fibers – and moisten it with water. It is important that the water is warm, as this will facilitate the loosening of the dried ink that is clogging the head. Press the head of each cartridge onto the cloth until you notice that it begins to stain with ink. Dip the cloth back into the warm water and gently rub the head.
To make sure you have removed all the dirt, take a paper towel and do a little test. A completely clean ink cartridge will leave a uniform stain on the paper, probably one for each color chamber. Repeat the procedure with all the cartridges in your printer and install them again.
Step 4. Cleaning the print rollers
Take advantage of this in-depth maintenance to clean the printer’s rollers. You can easily recognize them when you open the lid of the equipment because they are two -or more- small pieces 1-2 cm wide. Dampen a clean cloth – the same as the one you used to clean the ink cartridges – in warm water and rub the rollers gently.
Remember to rotate the pieces to remove all the ink and any particles that are obstructing the print. If you can’t find the rollers for your printer, check the manual or download it directly from the manufacturer’s website.
Step 5. Turn on the printer and print a test page
Once everything is clean and dry, turn on the machine and print a test page. You will notice that the printing has an optimal level and without errors; just like when you bought the printer. If it still has errors, run automatic maintenance again, select the “ink cartridge alignment” option, and print another test page. This will ensure you have the printer ready for your next project.
